在上一篇教程中,我们已经成功将博客部署到了 GitHub Pages。但此时的博客还处于初始状态,缺乏个性化和功能定制。本篇教程将带你一步步配置 Stellar 主题,让你的博客焕然一新。
主题配置基础
配置文件优先级
Stellar 主题支持多级配置。为了便于维护和升级,强烈建议在博客根目录下创建独立的主题配置文件:_config.stellar.yml。此文件的优先级高于主题自带的配置文件。
官方配置文档:Stellar 主题设置指南
博客基本信息
打开博客根目录下的 _config.yml 文件,修改以下站点信息:
1 | # Site |
为了让头像在导航栏正确显示,需在 _config.stellar.yml 中添加:
1 | logo: |
导航菜单配置
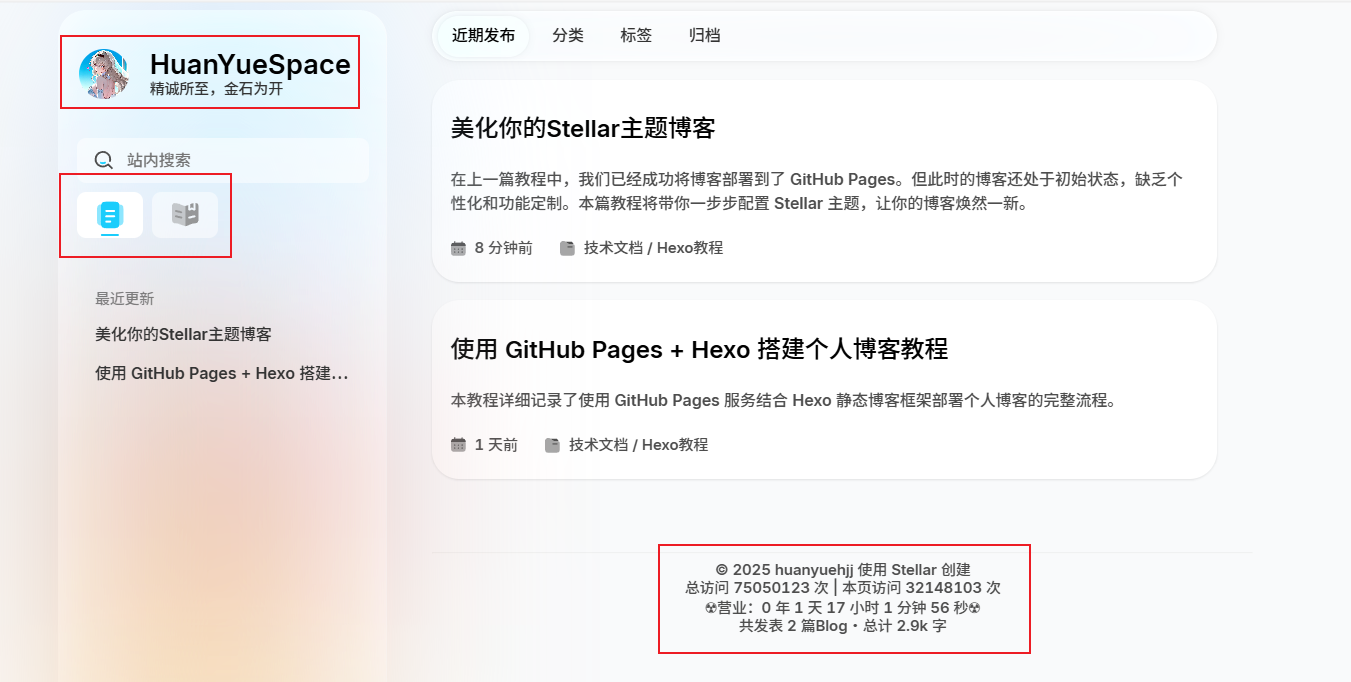
效果预览:
在 _config.stellar.yml 中添加 menubar 配置项:
1 | menubar: |
文章相关配置
文章类型
Stellar 提供两种文章布局风格:
tech:默认技术类文章 (紧凑布局)story:图文类文章 (宽松段落间距)
1 | article: |
文章封面
自动生成封面 (按标签匹配)
1 | article: |
手动指定封面
在文章的 Front Matter 中添加 cover 属性:
1 |
|
内容摘要
摘要用于在文章列表中显示预览。在正文中使用 <!-- more --> 分隔摘要和完整内容:
1 | --- |
注意:分隔符前后需保留空行。
文章模板
定制新建文章时的默认 Front Matter。编辑 /scaffolds/post.md:
1 |
|
内容组织与推荐
1. 分类与标签
分类 (Categories):支持层级结构,在列表中仅显示一级分类
1
categories: [技术文档, Hexo教程]
标签 (Tags):用于关联文章和关键词检索
1
tags: [Hexo, Stellar, 博客搭建]
2. 相关文章推荐
安装依赖插件:
1
npm install hexo-related-popular-posts --save
在主题配置中启用:
1
2
3
4article:
related_posts:
enable: true
title: 您可能感兴趣的文章 # 推荐模块标题
高级美化技巧
1. 长代码块滚动条
解决代码块过长导致的页面布局问题:
创建自定义 JS 文件
/themes/stellar/source/js/custom.js:1
2
3
4
5
6
7
8
9
10
11// 为超长代码块添加滚动限制
document.addEventListener("DOMContentLoaded", function() {
const codeBlocks = document.querySelectorAll('.highlight');
codeBlocks.forEach(block => {
if (block.scrollHeight > 800) {
block.style.maxHeight = '300px';
block.style.overflowY = 'auto';
block.style.borderRadius = '8px'; // 添加圆角美化
}
});
});在
_config.yml中注入脚本:1
2
3inject:
script:
- <script src="/js/custom.js?1"></script>
注意:此功能对 Tabs 容器内的代码块无效。
2. 页脚访问统计
添加「不蒜子」访问统计和运行时间:
1 | # 在 _config.stellar.yml 的 footer.content 配置 |
3. 页脚字数统计
安装统计插件:
1
npm install hexo-wordcount --save
修改主题模板文件 (
/themes/stellar/layout/_partial/main/footer.ejs):1
2
3// 在 footer 内容输出前添加
el += '<span class="totalcount">共发表 ' + site.posts.length + ' 篇博文 · </span>';
el += '<span class="post-count">总计 ' + totalcount(site) + ' 字</span>';添加自定义样式 (
/themes/stellar/source/css_custom.styl):1
2
3
4
5
6
7
8
9
10
11
12/* 页脚统计样式 */
.page-footer {
text-align: center;
margin: 0 auto;
width: 100%;
.text {
.totalcount, .post-count {
color: var(--text-p2);
font-size: 0.9rem;
}
}
}
效果展示:
至此,你的 Stellar 主题博客已初具规模!下一期我们将深入探讨 Stellar 主题的更多高级组件和自定义功能。